Part One: Creating the Fabric
Have you heard about Golden’s Digital Ground? It’s an incredible product that lets you print on just about anything that can fit through a printer! I really need to make some new pillows for my family room and so I decided that I would experiment with the stuff and see what I could make.
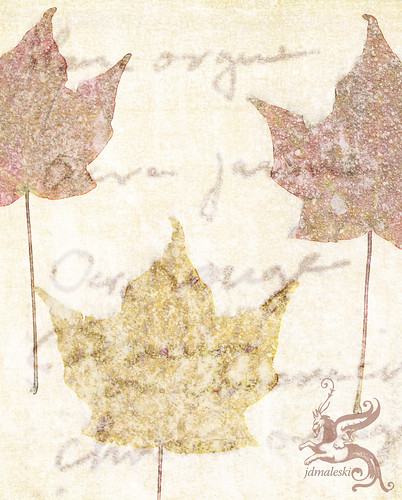
First, I came up with a pattern. Since it’s fall, autumn leaves were an easy choice!

Next, I cut an 8″ x 10″ piece of plain muslin and soaked it in fabric stiffener. Since I wanted to be able to send it through the printer, I made it as stiff as paper. (BIG HINT: Iron the fabric first! Do NOT be iron-phobic like me!!)

Once it dries, apply the digital ground. They recommend two coats, one with the brush strokes going top to bottom and one with the brush strokes going from side to side. I let it dry completely between coats and then let it dry overnight.
The next step was to tape the edges of the fabric to protect the printer and the fabric. As the carrier returns after printing each line, it sometimes catches on the edge of the fabric. I used white duck tape because my kids hid the painter’s tape. I think any kind of tape would work though.
Finally, send it through the printer. I did do a quick levels adjustment in photoshop because I wanted to darken the colors a little bit — I wasn’t sure how they would turn out on the highly textured fabric. I consider it a success!
At least I’m happy with how the fabric turned out. Now I just need to get started on making the pillow. That will be part 2! : )
I’ve also used it on aluminum foil. Yes, like the stuff you wrap your leftovers in. That is another tutorial coming soon. The result was better than I could have hoped for! Stay tuned….
I’ve seen Golden’s Digital Ground in the Dick Blick catalogue. I’ve toyed with the idea of trying it, but, too often, I purchase products and then am unable to find time to use them.
Oh yeah, I have this shelf in a cabinet in the dining room that’s got lots of art supplies that I thought looked really cool…shh! Don’t tell anyone. ; )