You finally settled on a theme — I know it’s hard to narrow down from all the choices and features! Now you need to install that theme into your WordPress installation. Don’t worry, it’s much easier than it sounds. Four quick steps and it will ready for you to continue personalizing it.
1. Navigate to the backend admin panel of your new WordPress installation. If you used SimpleScripts or one of the other one-click installers, all that login information should have been sent to your e-mail. Your login url should look something like: www.mydomain.com/wp-admin

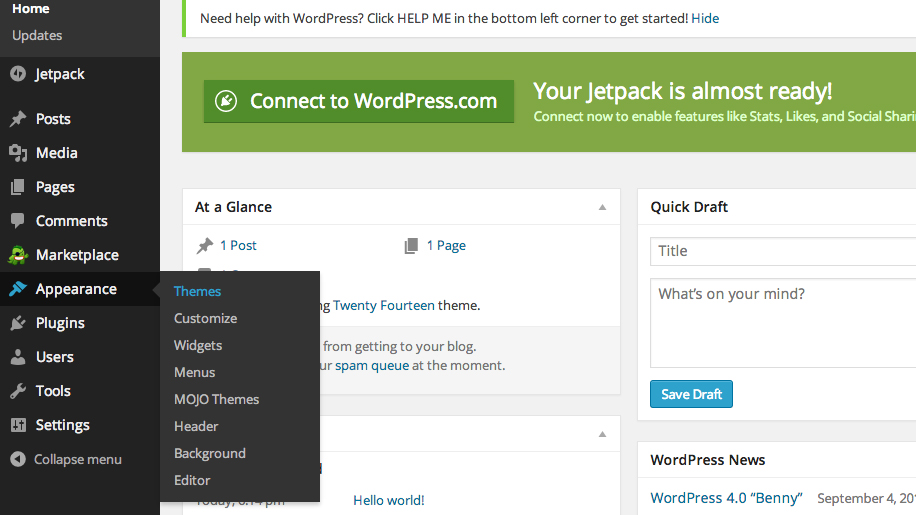
2. Navigate to the theme panel (go to Appearance → theme).
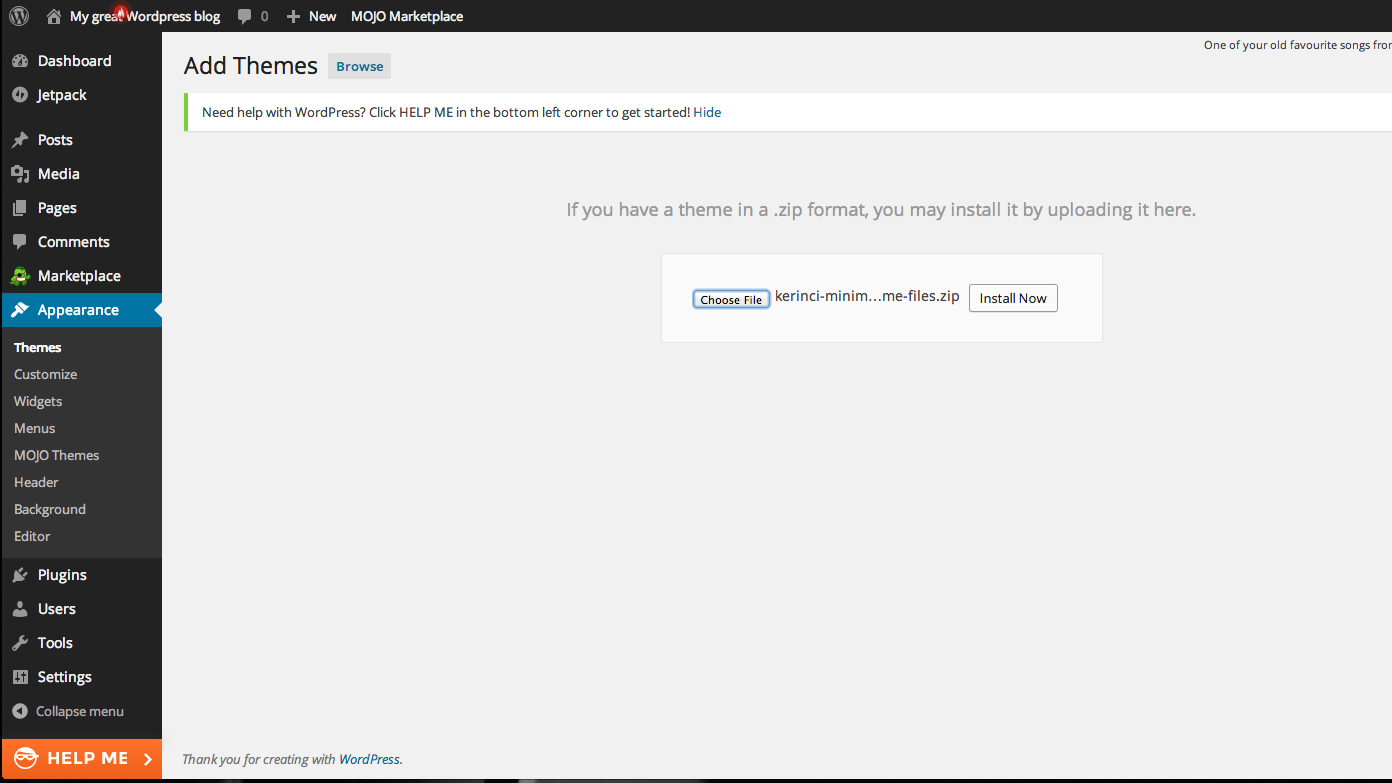
3. If you purchased a theme from somewhere other than the WordPress marketplace, you will need to upload the .zip file to your webspace now. Go to “Add New”, find the theme .zip file that you purchased and upload.
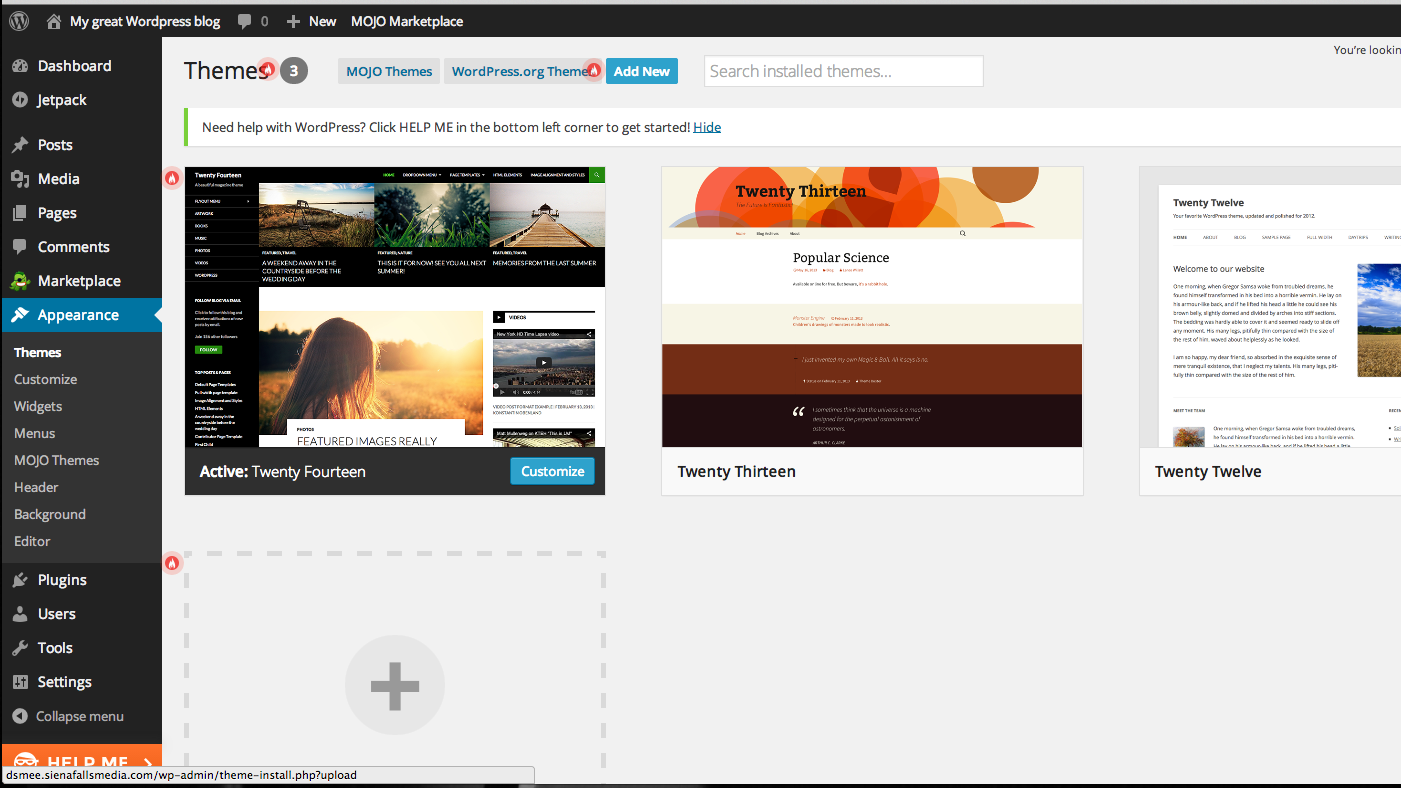
4. WordPress will now upload, unpack, and install it. You must manually click on the “activate theme” option in order to make that your blog’s active theme.
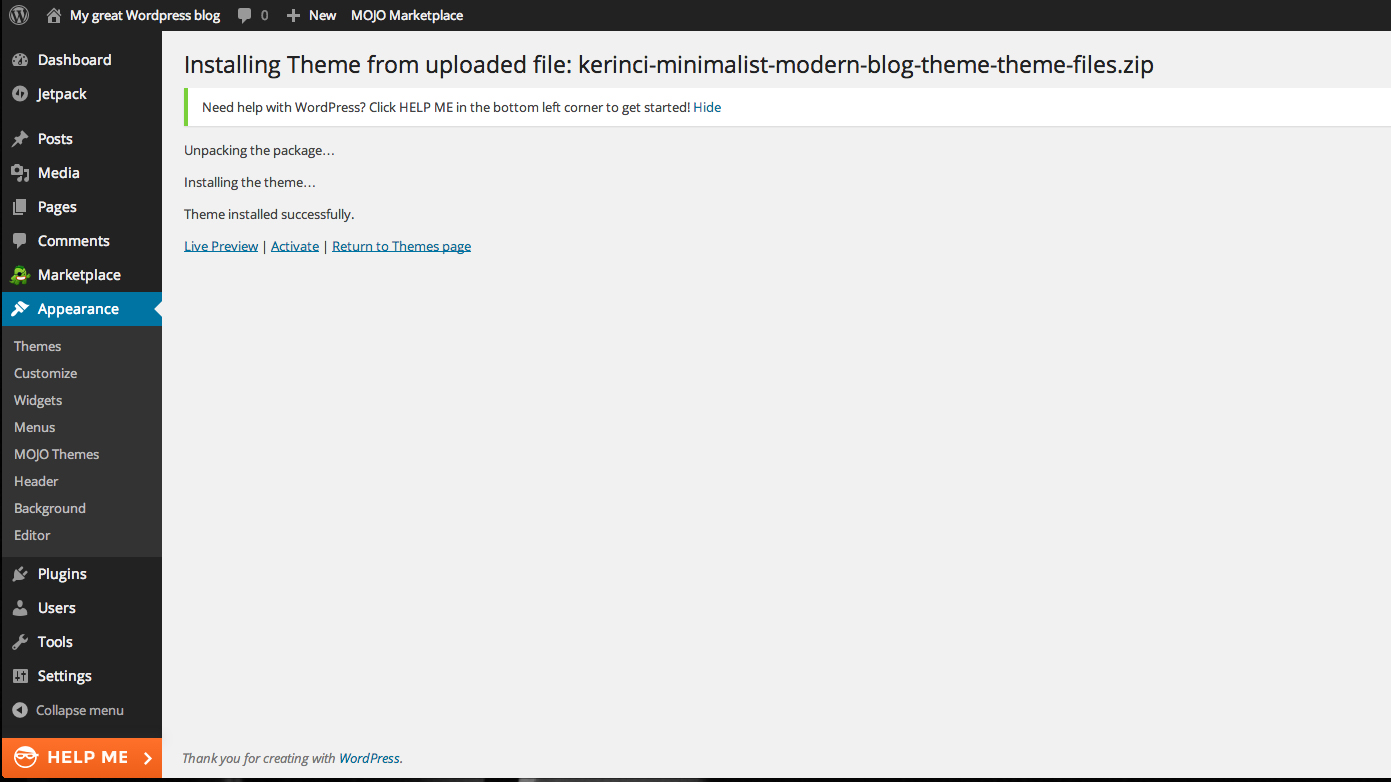
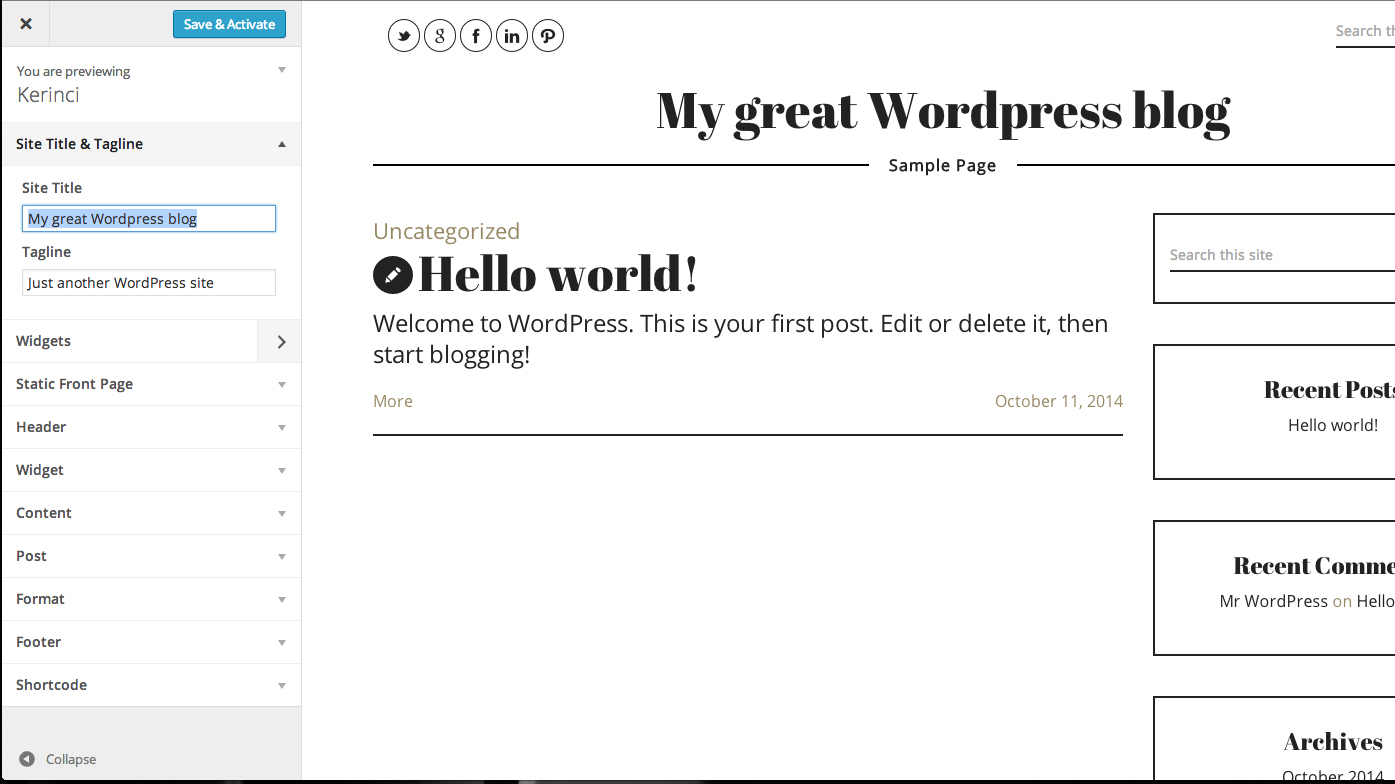
5. “Live Preview” is a handy new feature. It allows you to see a “live” view of the blog as you change all the various options available in a column on the left. You will be given different options according to the theme. Site title and tagline, fonts, number and order of columns, are just a few of the options that you can change and see how it affects your blog immediately. This is just a quick and basic way to personalize the theme. We will get into more details later about ways to fine tune the appearance.